If you are developing with ReactNative and have not tried LayoutAnimation yet, you are missing out.
Coming to ReactNative as an iOS developer, I was worried about losing the convenience of CoreAnimation. UIView animations are so nice; set the desired view properties and go. ReactNative’s Animated API works similarly, but requires a state property for each desired animation. For complex views this gets messy fast.
Enter LayoutAnimation. Don’t let the slim documentation scare you. It’s amazing. For n number of layout changes in your view, one line does it all. Set your state, allow your view to re-render, and LayoutAnimation handles all interpolation for you. For large and complex views, this is POWERFUL.
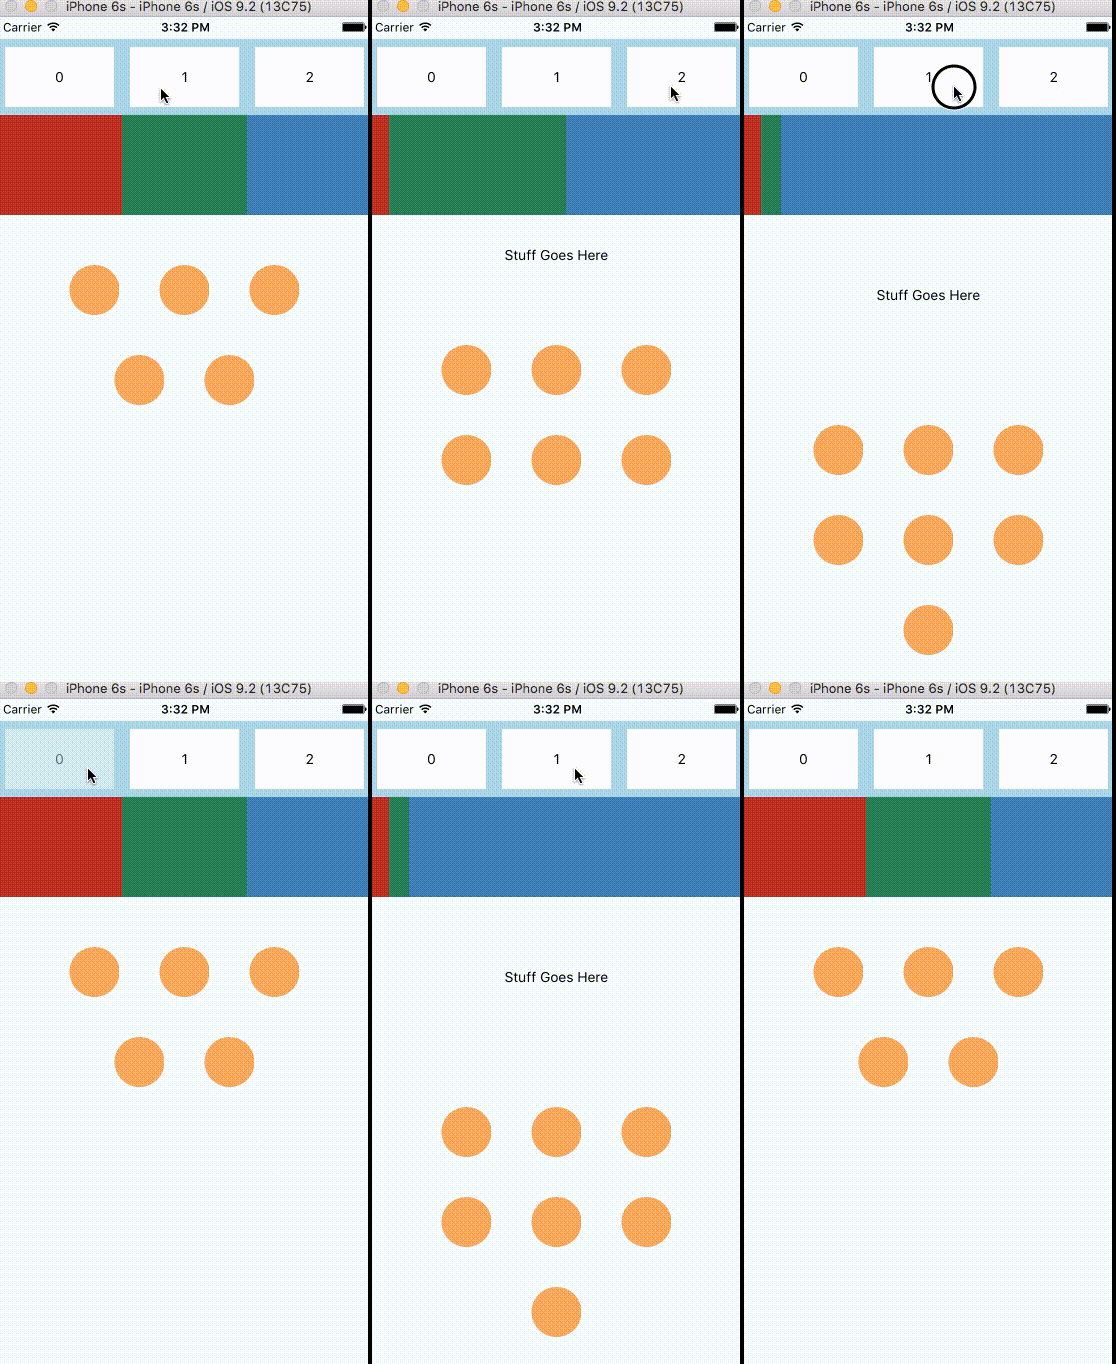
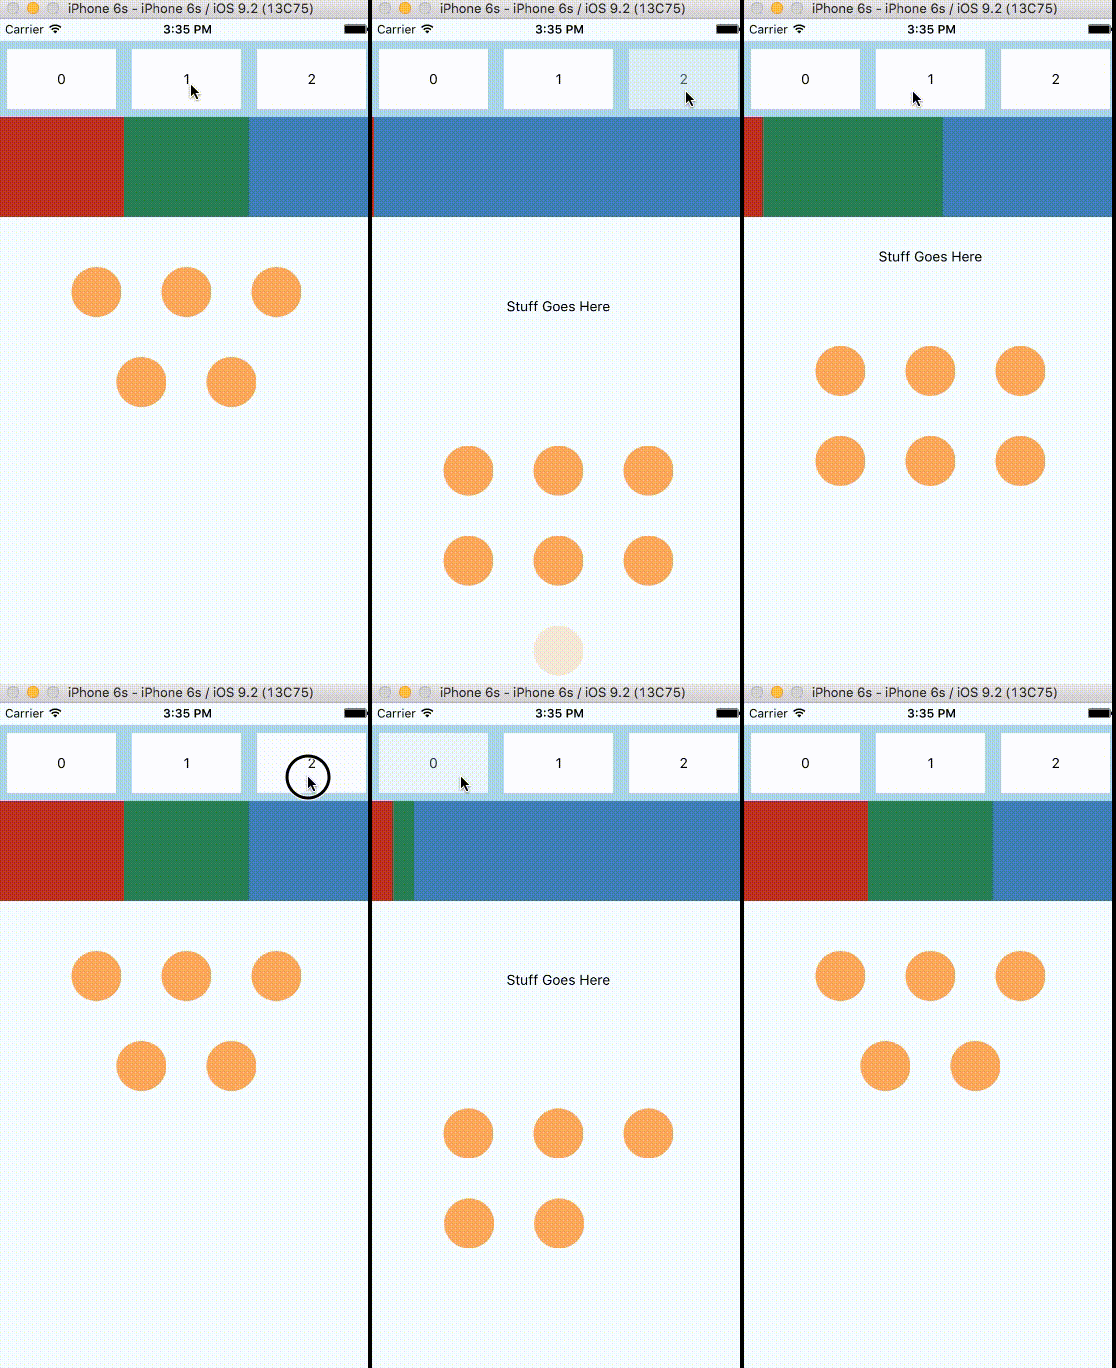
In this example, I have a complex view with three possible states. Heights, widths, and item counts are rendered based on the state index, determined by which button is selected.
 The state changing code without any animation is below.
// Called when a top button is pressed, with index corresponding to button title.
onPress(index) {
  this.setState({index: index});
}
Now, lets spice it up by adding a fancy LayoutAnimation. Only one line is necessary.
LayoutAnimation.configureNext(LayoutAnimation.Presets.spring);
This will apply the springanimation preset to any layout changes that occur during the next render cycle.
 BAM. Isn’t that sexy?
Note: LayoutAnimation Deletion is supported for iOS as of RN 0.26, Android as of RN 0.28-rc. The example video does not show the deletion animation.
// Called when a top button is pressed, with index corresponding to button title.
onPress(index) {
  LayoutAnimation.configureNext(LayoutAnimation.Presets.spring);
  this.setState({index: index});
}
LayoutAnimation comes with three presets:
- easeInEaseOut
- linear
- spring
Or you can roll your own. A couple examples of custom LayoutAnimations are shown below. It also helps to study the source code to see what all is possible.
// Spring
var CustomLayoutSpring = {
  duration: 400,
  create: {
    type: LayoutAnimation.Types.spring,
    property: LayoutAnimation.Properties.scaleXY,
    springDamping: 0.7,
  },
  update: {
    type: LayoutAnimation.Types.spring,
    springDamping: 0.7,
  },
};

// Linear with easing
var CustomLayoutLinear = {
  duration: 200,
  create: {
    type: LayoutAnimation.Types.linear,
    property: LayoutAnimation.Properties.opacity,
  },
  update: {
    type: LayoutAnimation.Types.curveEaseInEaseOut,
  },
};

// Execute by calling before a state change
// LayoutAnimation.configureNext(CustomLayoutSpring);
LayoutAnimation works by identifying views by their unique key, computing their expected position, and relying on the underlying native framework (CoreAnimation on iOS) to animate the change. Frame changes are animated as long as the view keeps the same key between state changes. Opacity and Scale are the only additional properties supported, but it is possible to add a few more such as backgroundColor and transformations.
Note: I haven’t dug through the Android source code, so it might differ slightly there.
TLDR: LayoutAnimation is definitely worth recognition as a huge upside to React Native. Try it out and you’ll see.